
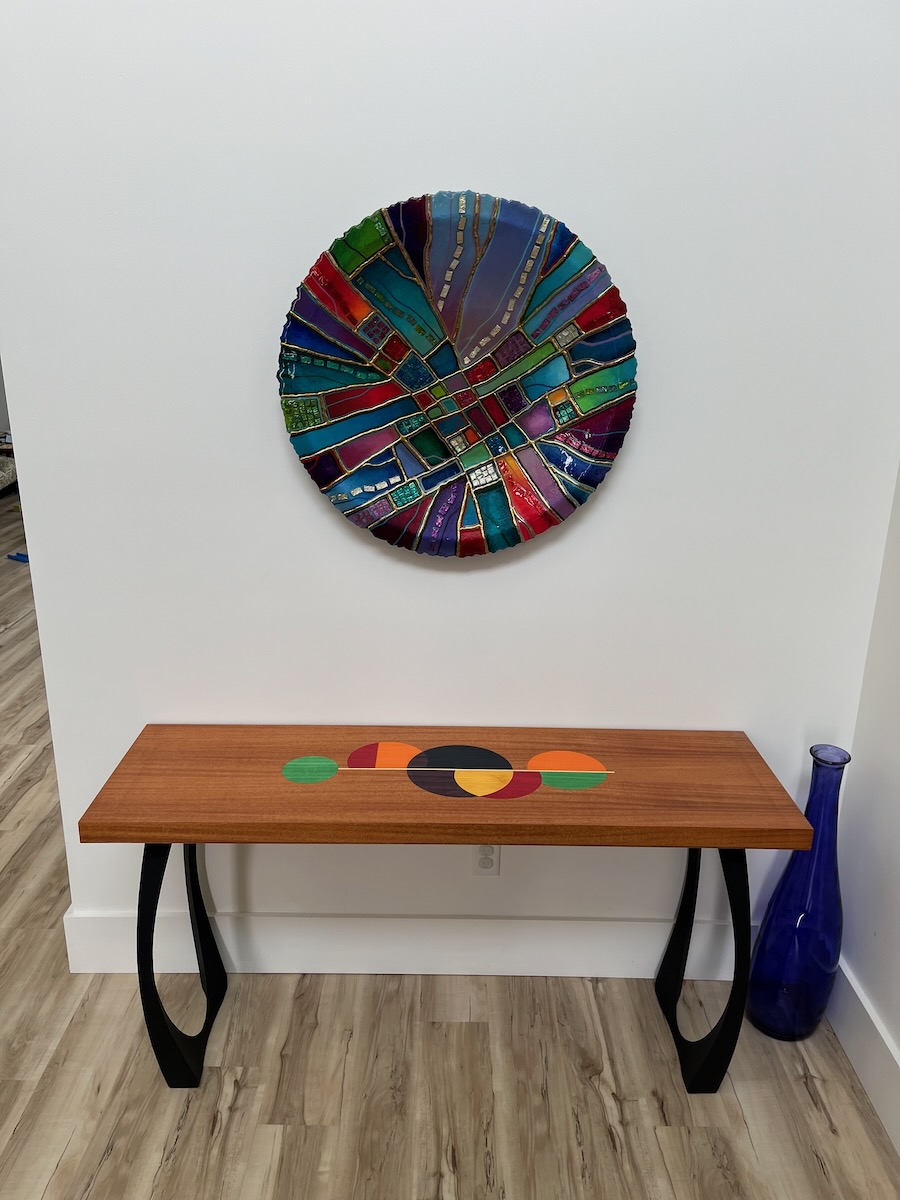
Finished Table at Brother Daves
My most recent woodshop project came from an idea my brother Dave had. They have been decorating their new home with art and furniture reminiscent of the midcentury modern style. Dave had an idea for a design with colors that matched some of their other art.

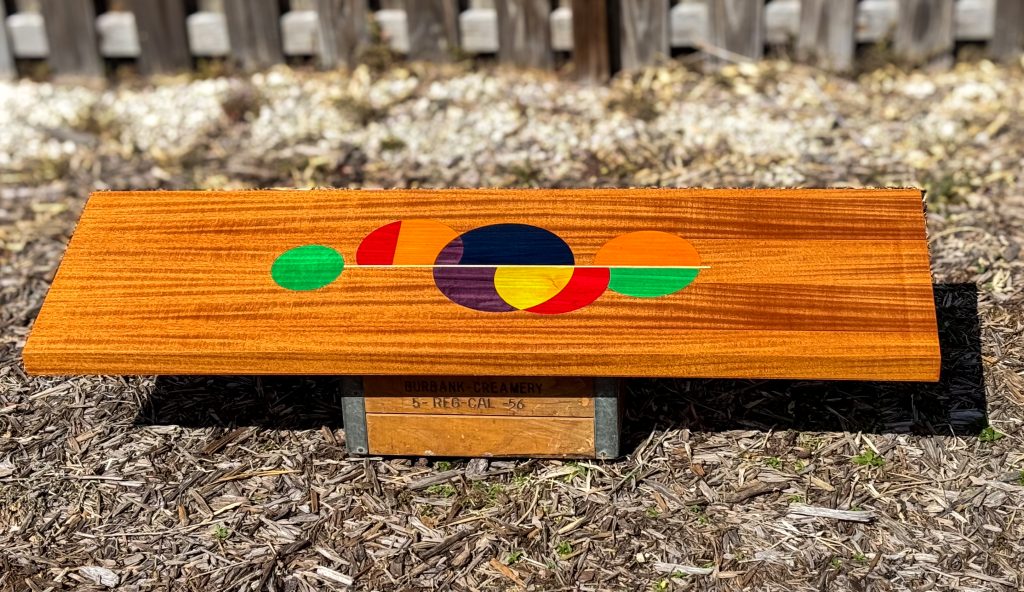
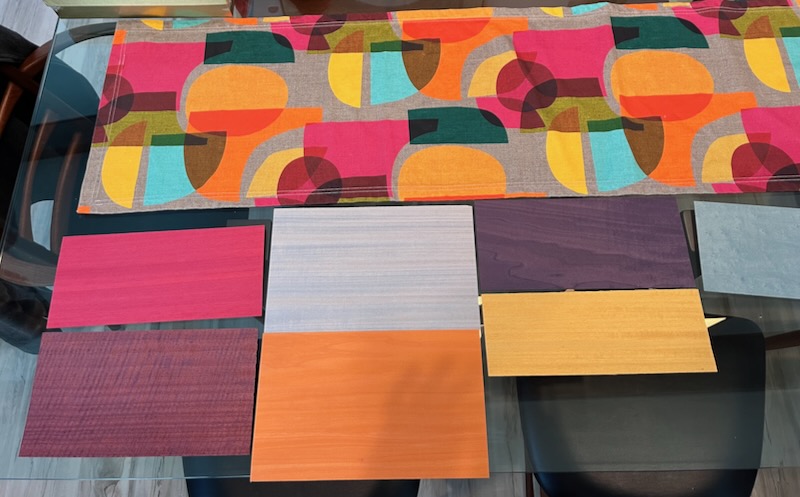
I had some colored veneer from an older project that we looked at with a table runner they had. Things were looking good!
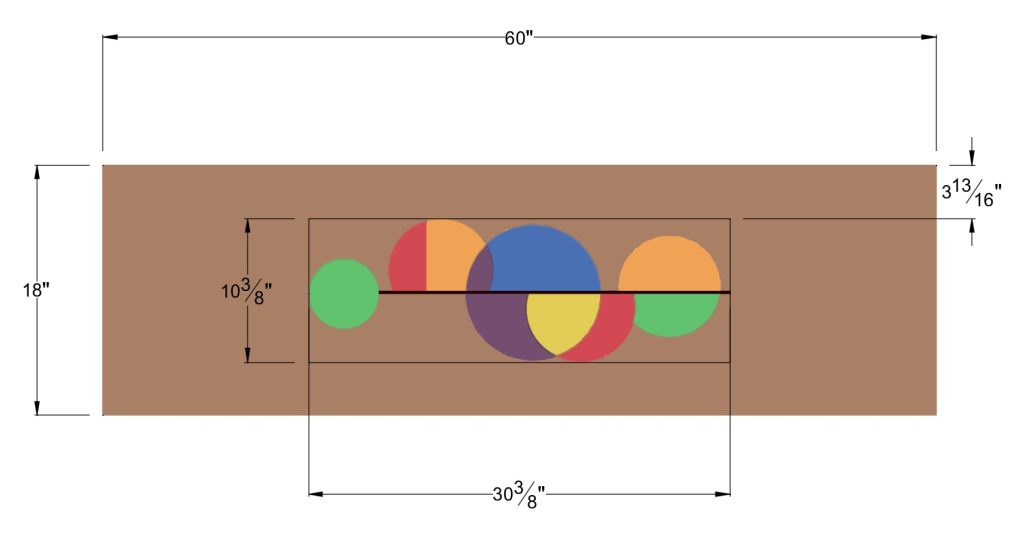
I worked up a design in AutoCad using the image as a guideline.
Dave wanted to match the wood to the mahogany used on their beautiful doorway. I was able to get a beautiful quartersawn veneer online together with the dye-strained colored veneer. We were in business!
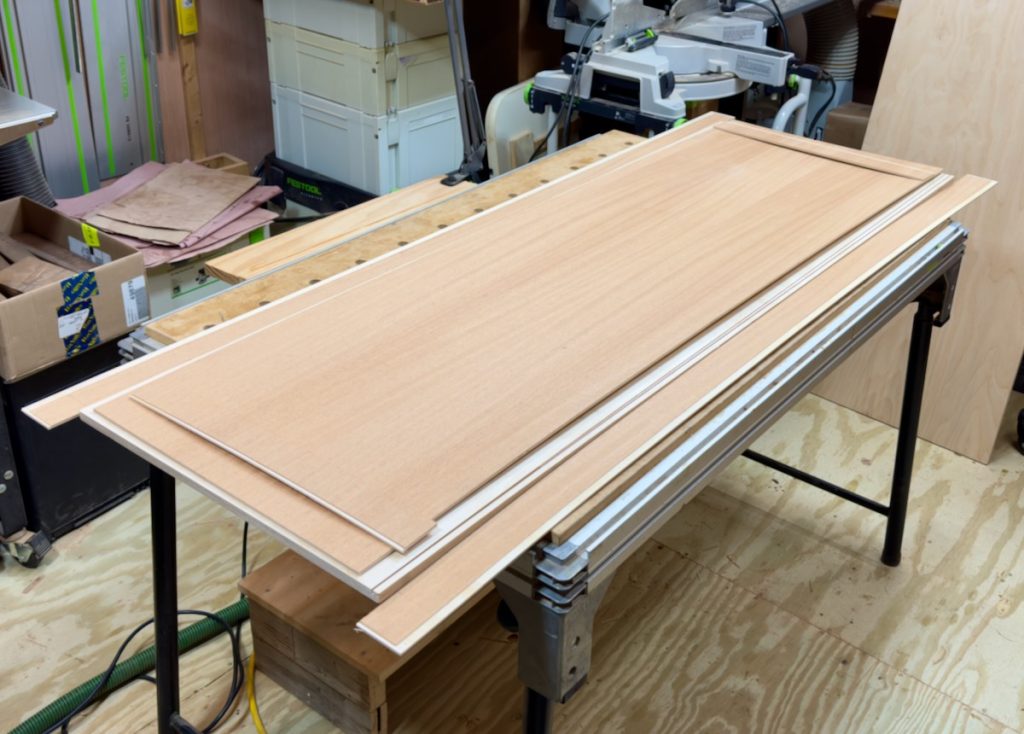
I carefully laid out the first cut after gluing the veneers to 1/8″ baltic birch plywood.
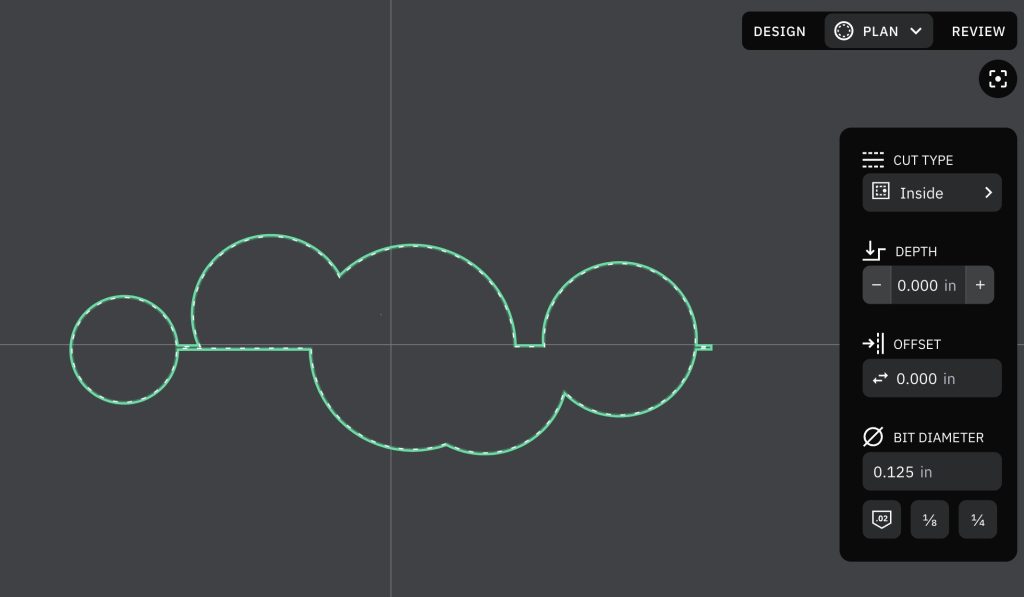
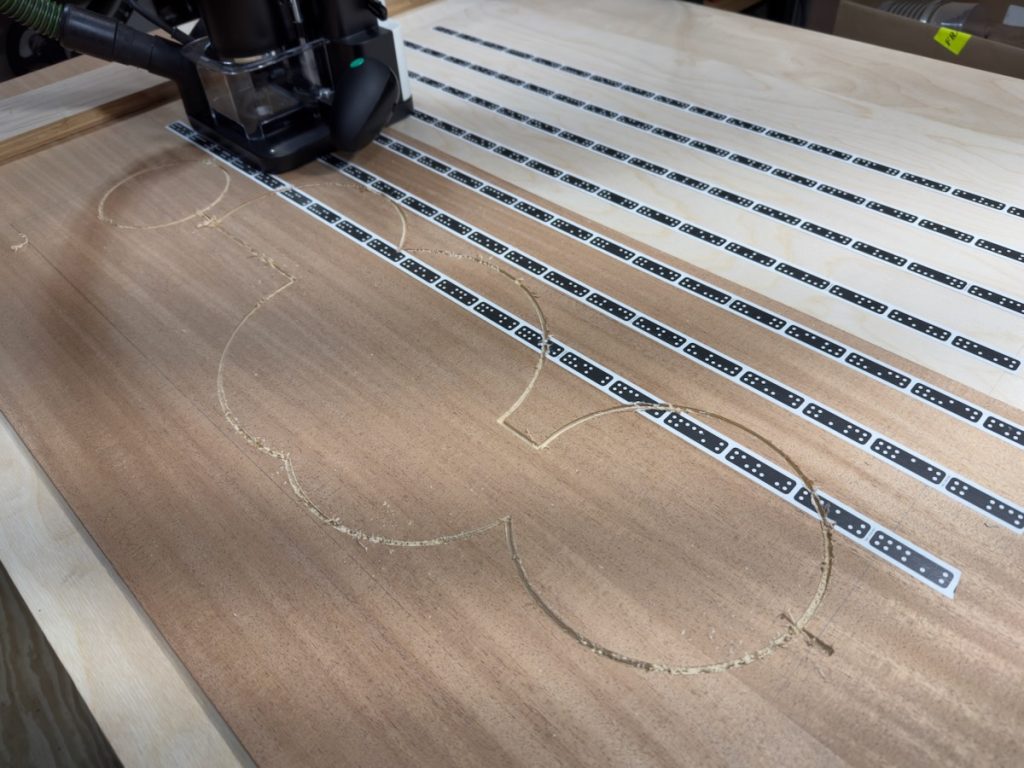
The outline of the shape was extracted from the AutoCAD file. I imported it into the Shaper Studio software and uploaded it to the router.
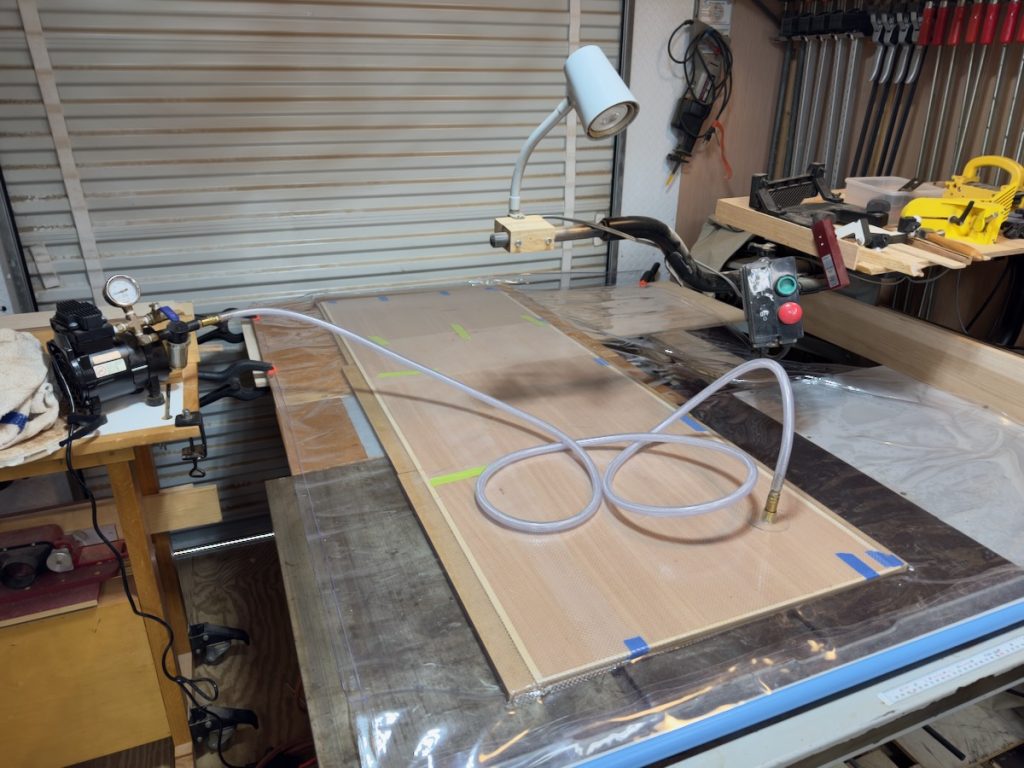
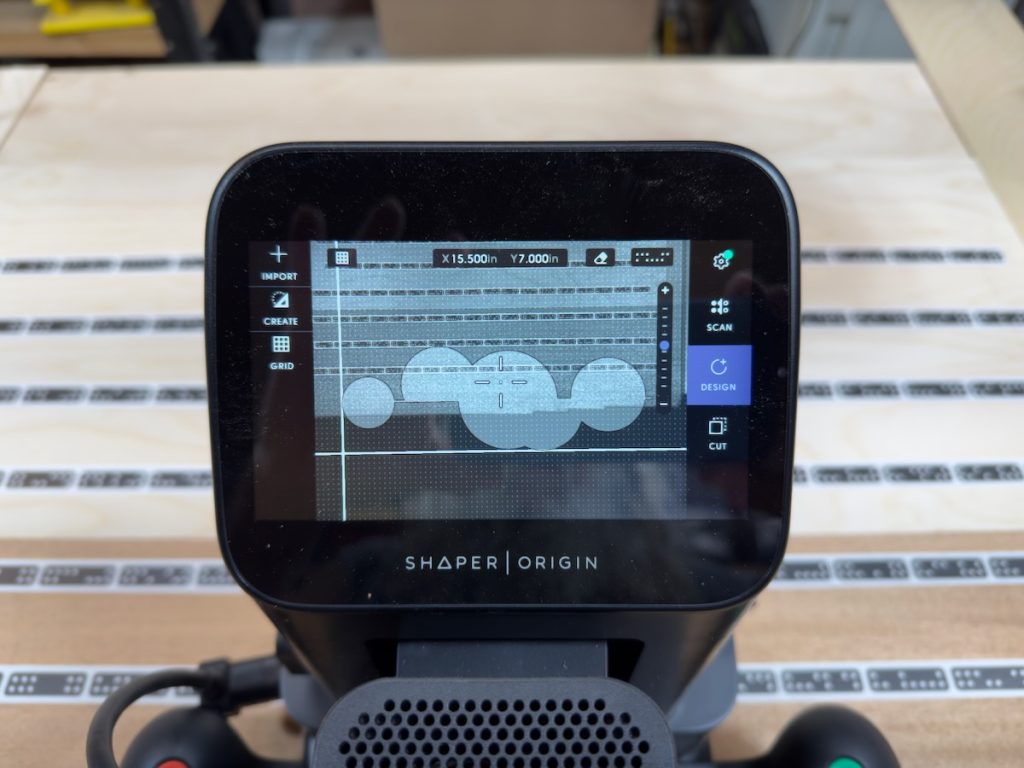
Making the cut in the tabletop for the individual wood shapes involved setting up the markers that the router used to determine cutter positioning. The markers extend slightly beyond the top and into the workpiece. This allows the router to determine its position with an accuracy of 0.001″. Pretty amazing!

The workpiece is secured to a panel underneath it using double-sided tape. The markers mustn’t move relative to the workplace, so care must be taken to ensure this with the tape and how the markers are laid out. Otherwise, the router displays an error message that the scan is unacceptable. However, once placed, it is accurate and, even more importantly, completely repeatable.
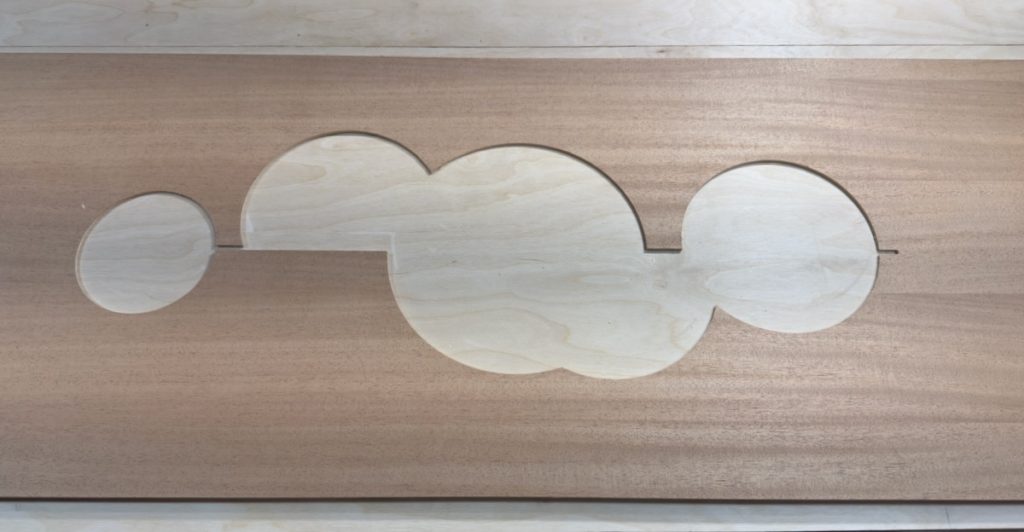
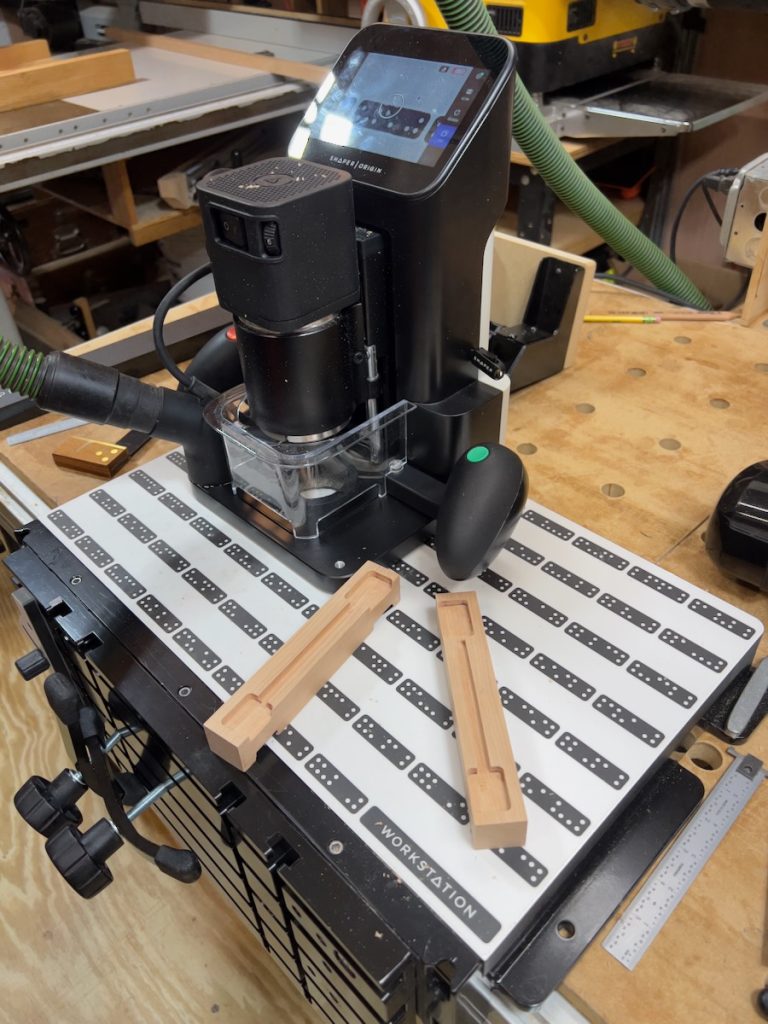
The next step is to cut and fit the individual pieces. They are vacuum glued to the 1/8″ plywood and cut using the Shaper Workstation. This accessory is handy for items up to about 12″ long and 5″ wide.
All the shape pieces were cut and fit into the panel. A solid strip of hard maple is placed in the middle. About 1 hour of sanding was needed to fit all the pieces in place smoothly. It went smoother than I expected.
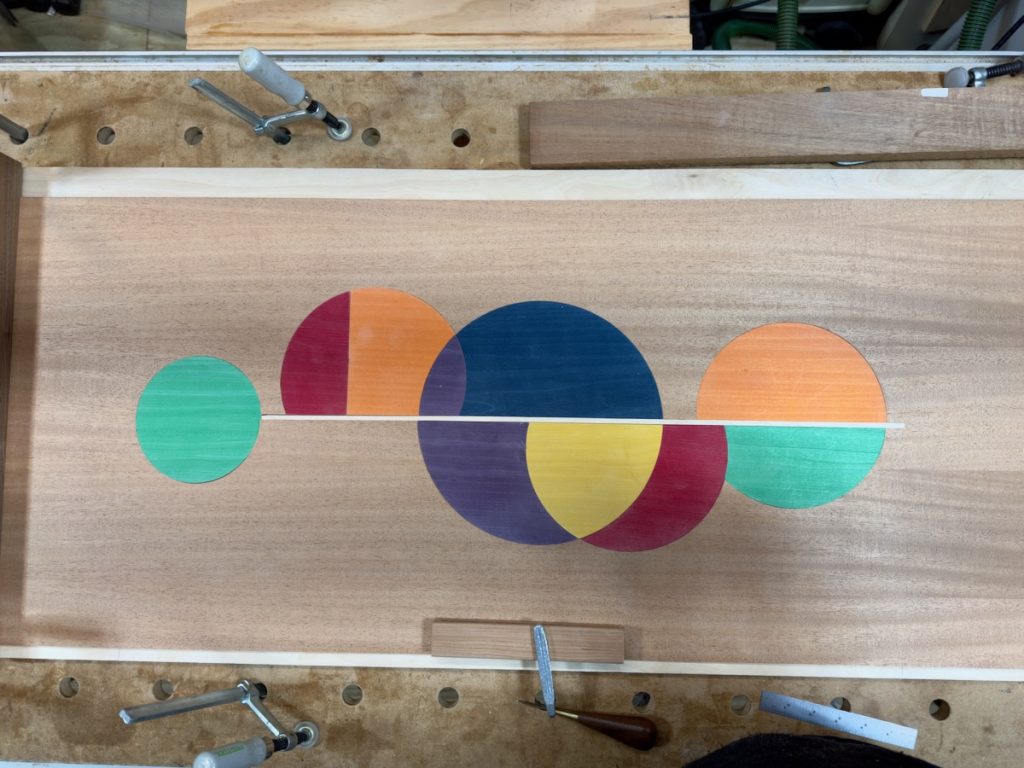
All the shapes were then glued to form the tabletop.

The final step before finishing was to add the sides. I wanted to ‘bookmatch’ the veneer, so I carefully cut the side and end pieces in the initial layout so the grain patterns would match. These were vacuum glued to the 1/8″ plywood and then onto 1/2″ plywood underlayment. The final step was to carefully cut each edge at a 45-degree angle (mitered) so the veneers would meet at a 90-degree angle.
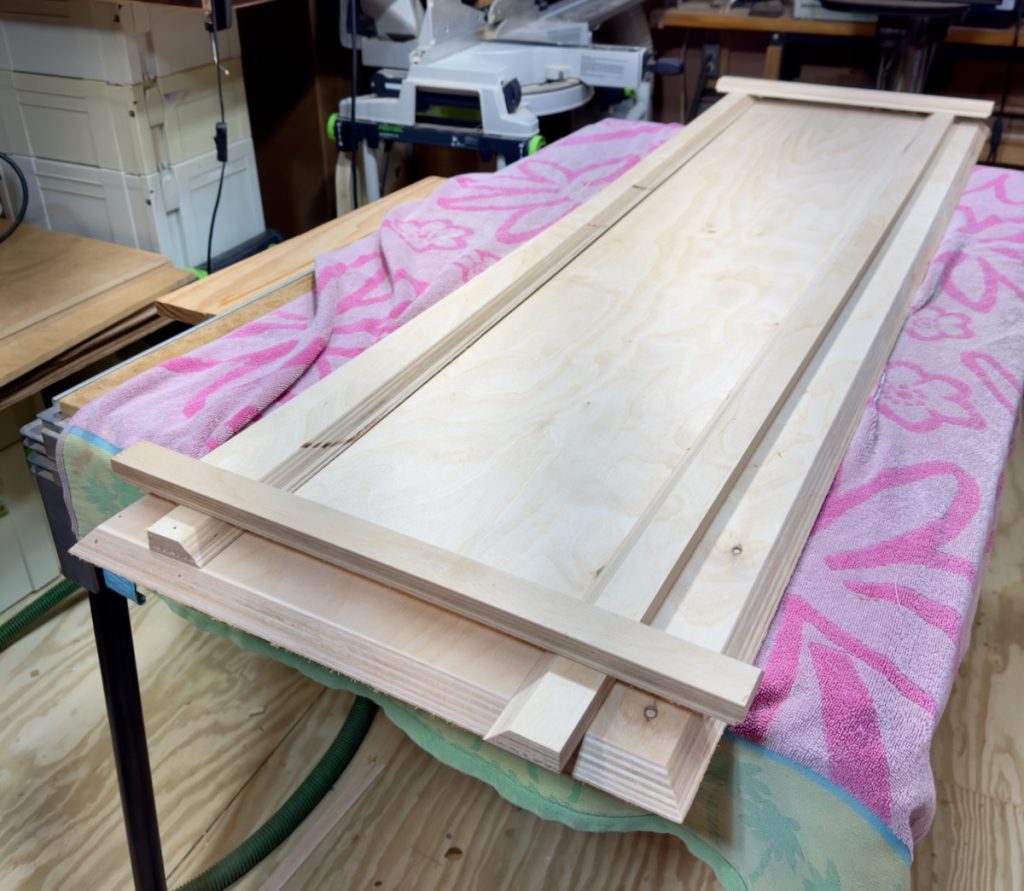
The edges are carefully cut to meet and then glued to the sides using tape.

The edges meet remarkably well.
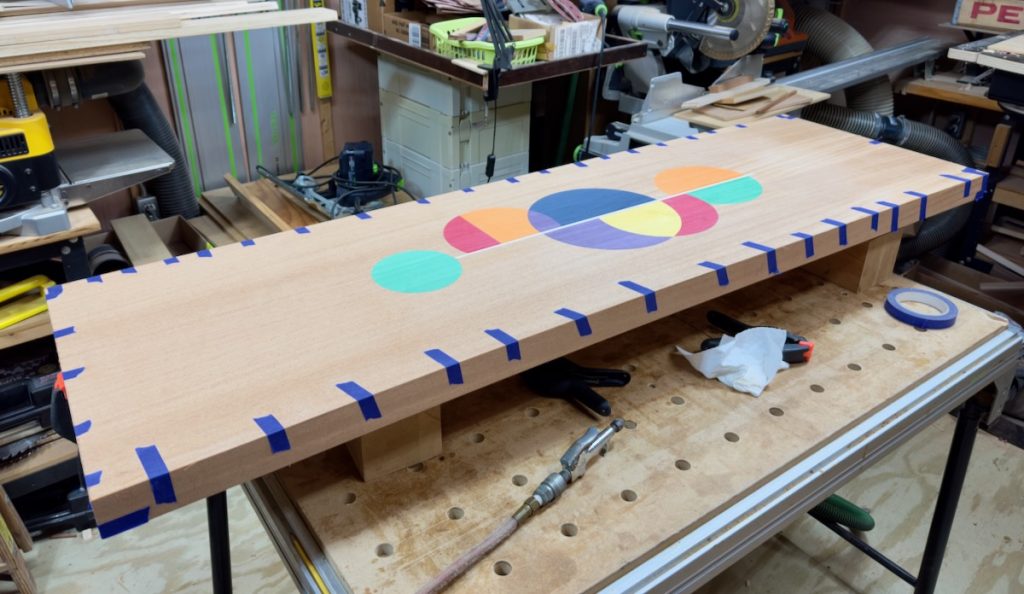
All the edges were glued to the top. The final step was to add a solid wood trim piece along the bottom and fit the underside with attachment points and a simple bottom panel of 1/4″ plywood. I carefully sanded all the panels up to 220 grit sandpaper.
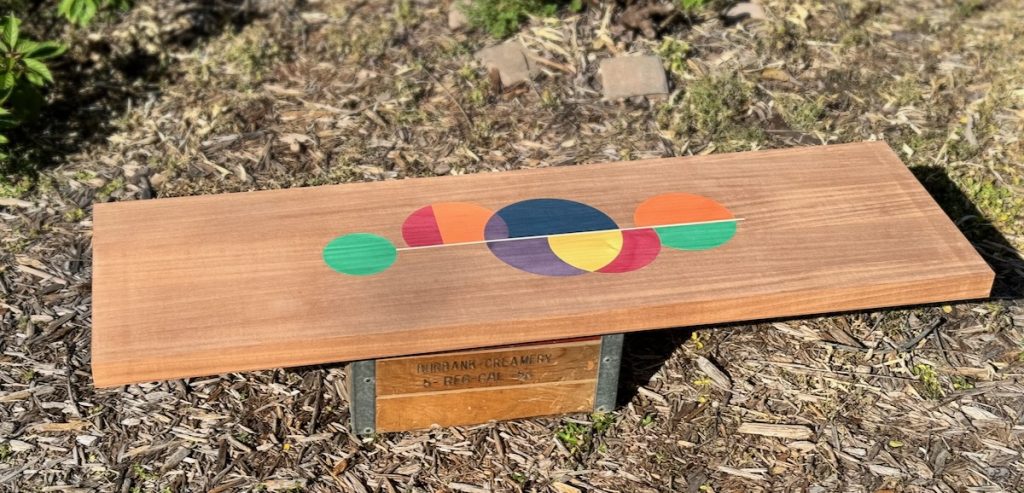
I searched for and used a new finish when I finished my high-top table. It is called Rubio Monocoat and is a ‘Silicon Valley’ grade finish purporting a molecular wood bonding, so toxic fumes and similar cool stuff. I have been very impressed with how it has held up. They also recently introduced a final ‘sheen’ costing, which I used. The results were simply stunning!